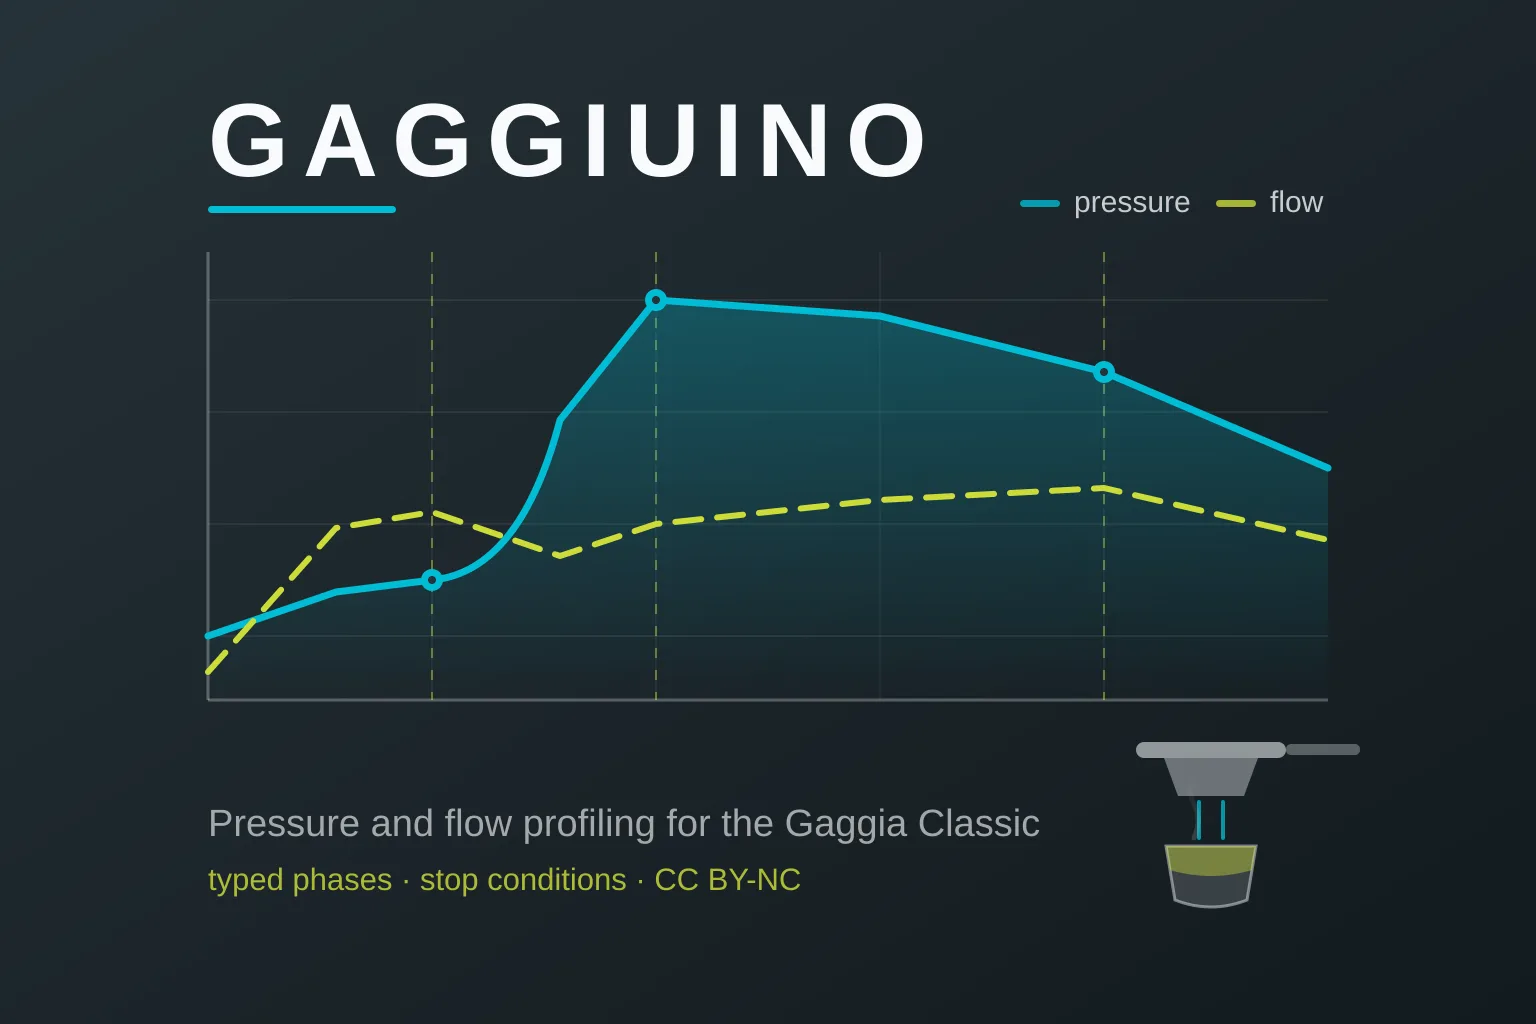
Gaggiuino is “a community-driven project to add high-end features to Gaggia Classic espresso machines.” The feature list is the kind of thing that costs four figures on a prosumer machine: pressure and flow profiling, temperature control, integrated scales, shot history, a web interface, OTA updates, a REST API and MQTT.
It is also a project where you open a mains-powered appliance, fit a solid-state relay, and in some cases replace the over-pressure valve. So before any of the features, two constraints decide whether this is for you — and both are easy to miss on the page you land on.
The one machine the project tells you not to buy
The compatibility table is the first thing to read, and it is unusually specific. Supported machines are listed by model ID and voltage: Gaggia Classic SIN035 RI9303 (1991–2018), Classic Pro SIN035R RI9380, Pro Eco SIN035UR RI9480, Evo Pro and Pro E24.
One row is a cross rather than a tick:
“:x: Gaggia Classic V2 | 220-240 V | 2015-2018 | SIN035U RI9403”
The note beside it, under a collapsed toggle, reads “Avoid like the plague”.
The docs state the rule plainly: “Gaggiuino is designed for the Gaggia Classic family of espresso machines with 3-way valves (NOT the Gaggia Classic V2, SIN035U RI9403).” Also excluded by design are machines with “a heat exchanger, thermoblock, thermocoil, group/check valve, or rotary pump.” The Rancilio Silvia is described as supported, “although no official installation instructions are available at this time.”
If you are buying a second-hand machine specifically to do this mod, that model ID is the single most valuable string on the site. A 2015–2018 220–240 V Classic looks identical in a listing photo to the ones that work.
Other rows carry prerequisites rather than exclusions, and they are real work: the 100–120 V Classic “Needs Grounding”; the Evo Pro and Pro E24 require the 9 bar OPV to be “changed to be a 10-12 bar OPV”; the Eco and Evo Pro 220–240 V models need a “Power switch mod” with “custom wiring recommended due to eco PCB”. Read your own row before ordering anything.
What the repository actually contains
Here is where we went looking, because the docs point at GitHub for binaries and the project is described as community-driven.
We cloned Zer0-bit/gaggiuino. The default branch has eight tracked files: a README, the licence, a logo, three issue templates, a CODEOWNERS file and one workflow. No firmware. Its last commit is dated 18 April 2025, with the message “Update discord invite”.
The README is honest about what it is — a signpost:
“For install or upgrade binaries head over to Releases.”
So we checked the other branches. There are three in total:
| branch | last commit | contents |
|---|---|---|
main |
2025-04-18 | 8 files — README, licence, templates |
community |
2026-10-08 | 95 files — 43 shot profiles as JSON, plus descriptions |
release/stm32-blackpill |
2024-09-28 | 182 files — 57 .h, 37 .cpp, 24 .jsx |
The only C++ in the repository is on release/stm32-blackpill, which the README identifies as “the legacy version of the project”, and it was last touched in September 2024. The current Gen 3 firmware is not on any of those three branches. We also checked four plausible repository names for it — under both the Zer0-bit and GAGGIUINO accounts — and found none; banoz/CoffeeHat (the PCB hardware) and Zer0-bit/esp-arduino-ble-scales (the Bluetooth scales library) do exist and are separate components.
A small corroborating detail: the workflow still on main, compile-sketch.yml, triggers on branches: [dev, release/stm32-blackpill, fix/*]. There is no dev branch in the repository today.
We may simply not have found where the Gen 3 source lives, and the Releases page is the documented and working path for getting firmware. But stated precisely: what you install on a Gen 3 build is a published binary, and the newest source we could locate in the project’s own repository is the previous generation’s, from September 2024.
CC BY-NC is not open source
The LICENSE file on all three branches is the same, and it is not the one most people would guess:
“Creative Commons Attribution-NonCommercial 4.0 International Public License”
Two consequences worth being clear about.
It is a content licence, not a software licence. CC BY-NC carries no patent grant and none of the warranty or distribution provisions that MIT, Apache-2.0 or the GPL family provide for code. Creative Commons itself recommends against using its licences for software. For a personal build that changes nothing; for anyone thinking about derivative products it is the wrong shape of instrument to rely on.
NonCommercial means what it says. You may not use the material commercially without the licensor’s permission. That explains a feature of the site which otherwise looks odd: the sidebar lists “Approved Official Suppliers” — Gaggiuino.co and DIY-EFI for PCBs and kits, Espressio and Hudson Creative Group for 3D-printed parts. Under a non-commercial licence, selling hardware derived from the project needs the licensor’s agreement, and “approved” is presumably that agreement. The docs add that you can order components yourself from the linked sources and print the parts from the design files, so the DIY route stays open.
None of this makes the project less usable. It does mean “community-driven open project” and “open source” are not the same claim, and only the first one is being made. The contrast with ESPHome is instructive: there the whole argument for owning your firmware rests on the source being MIT and the build being yours to reproduce.
Three generations, and only one is being worked on
The feature matrix splits the project into Gen 1 (Arduino Nano + Nextion), Gen 2 (STM32 + Nextion) and Gen 3 (STM32 + ESP32), and the difference is not cosmetic. Web interface, OTA updates, shot history, profile sharing, REST API, MQTT, Bluetooth scales and “unlimited” profiling and phases are all Gen 3 only, marked :x: for both earlier generations.
The build guidance is direct about which to pick: “Gen 3 is recommended for Gaggia Classic and Rancilio Silvia variants - it’s newest, has more features, and is being actively worked on.” Gen 2 is recommended specifically “if attempting a Gaggiuino install on machines that aren’t officially compatible - it provides a stable code base to start with.”
Read that together with the branch table above and the two statements line up: Gen 2 is the stable, published code base, and Gen 3 is the actively developed one you install as a binary.
Within Gen 3 there is one more fork in the road. You choose a 4.3” IPS touchscreen for an on-machine UI plus the web interface, or the “headless” PCB for a “stealth” install with web UI only. That decision affects which PCB you order, so make it before you buy.
The warning is on the build pages, not the landing page
The home page has exactly one WARNING callout, and it is about build videos: “There are no official build videos. It is highly recommended to only follow the instructions on this website.”
The electrical warning is real and prominent — it just lives at the top of each build guide rather than on the page you arrive at. From the PCB and custom-wiring guides, quoted in full because it is the paragraph that matters most:
“Please understand that modifying your coffee machine involves working with potentially lethal mains level voltage. Do not undertake this project if this makes you uncomfortable. Understanding & utilizing safe electrical practices is critical to your safety and safely completing this project. Only start working on your machine while it’s completely disconnected from the mains power socket. By agreeing to follow the below guide, you agree that the authors cannot be deemed responsible for any of the damage you induce to your house appliances, yourself, your cat, your friend, or your gold fish. It will be entirely your fault!”
The machine-specific guide goes further on grounding, and the explanation is the clearest short piece of writing on the site: without a grounded housing, “if the AC line came loose and contacted the housing the machine may still work, but touching the metal housing would be the same as touching a live power socket.”
That is why the 100–120 V Classic row says “Needs Grounding” rather than suggesting it. If you are not confident working on mains wiring with the appliance unplugged, the correct response to this project is to stop here — and the documentation says so before it says anything else about your coffee.
43 profiles in a git branch
The community branch is the quietly clever part of the design, and it is the most active branch in the repository.
It holds 43 shot profiles as JSON, each with a matching markdown description. A profile is a sequence of phases, and the data model is more expressive than “pressure curve” suggests — here is the opening of Adaptive.json:
{
  "name": "Adaptive",
  "phases": [{
    "name": "", "type": "FLOW",
    "target": { "start": 0, "end": 7, "curve": "INSTANT", "time": 0 },
    "restriction": 3,
    "stopConditions": { "time": 20000, "pressureAbove": 3, ... }
  }]
}
Phases are typed (FLOW here), targets have curves, and each phase has its own stop conditions on time, pressure, flow, weight or water pumped. That is a real little language for describing an extraction, and expressing it as JSON in a git branch means profiles are shareable, diffable and reviewable rather than screenshots in a forum thread.
For anyone evaluating the mod, those 43 files are also the best available answer to “what would I actually do with it?” You can read them before you buy a single component.
What this actually costs you
The bill of materials is itemised rather than priced, and the components are ordinary: an STM32 board (STM32U585CIU6 for Gen 3, BlackPill F411 for Gen 2), an ST-Link programmer, an ungrounded K-type thermocouple, an SSR-40DA relay, a 0–1.2 MPa pressure sensor, heat-resistant silicone wire in several gauges, JST and 6.3 mm spade connectors, and a gasket.
The real cost is in two things the parts list does not show.
Effort. The documented build is five numbered stages — identify the machine, choose the build path, order parts, build, first shot — with separate guides for the PCB or “component (Lego)” control system, for stock-wiring integration or a custom harness, and for the screen or headless interface. The docs note that the component build “adds significant effort and makes reliability dependent on the maker’s skill.”
Support expectations. The help process is specified in unusual detail: one Discord thread per person per machine, titled [username][machine type][control system] Thread Title, in the channel matching your machine. That is a project that has absorbed a lot of repeated questions, and it is a reasonable signal of both an active community and a non-trivial install.
Who should attempt this
Someone who already owns a compatible Gaggia Classic, is comfortable working inside mains-powered equipment with it unplugged, and wants profiling rather than just better temperature stability. The MQTT and REST interfaces mean a finished build is also an addressable device, so it lands naturally in the kind of setup our IoT and smart home archive covers. For that person the value is genuinely large — flow and pressure profiling with shot history and a REST API is prosumer-machine capability on a machine that has been in production since 1991.
Not for you if: your machine is the V2 or has a thermoblock or heat exchanger, you are not confident around mains wiring, you want a warranty to remain intact, or you want to build a product on top of it — the licence forecloses the last one without permission.
The finding worth carrying away: the GitHub repository you land on holds eight files and no firmware, the only published C++ is the legacy Gen 2 branch from September 2024, and everything is licensed CC BY-NC — so Gaggiuino is a community project distributed as binaries under a non-commercial content licence, not an open-source firmware project. That changes nothing about whether the coffee is better. It changes what you are agreeing to.
See the compatibility table, the build guides and that mains-voltage warning for yourself at gaggiuino.github.io before you order a single part.